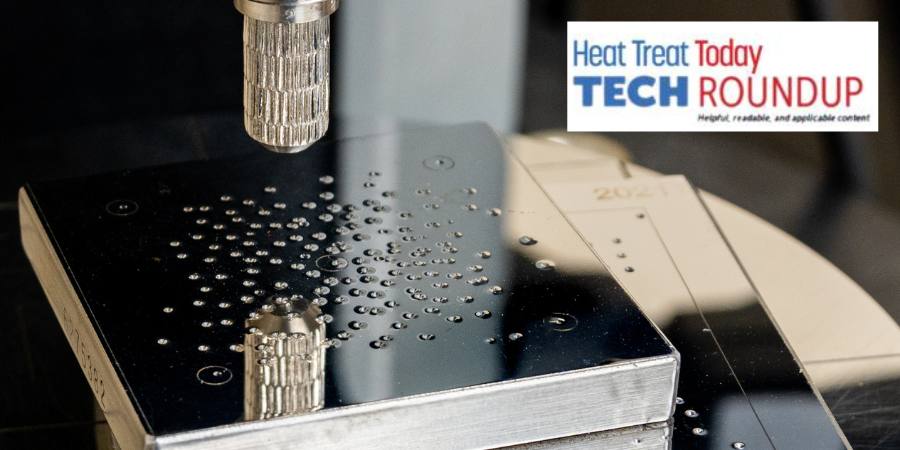
Source: Struers.com
Hardness testing in heat treating has evolved to a precision science necessary to provide reliability in resolving yield strength of metal materials and to assist in comparing property differences of two materials, ultimately determining “the success or failure of a particular heat-treatment operation” (Daniel Herring, “Common Pitfalls in Hardness Testing,” Gear Solutions Magazine).
According to Herring, “The Heat Treat Doctor®” (see his Heat Treat Today consultant’s page here), “Hardness testing is thought to be one of the easiest tests to perform on the shop floor or in the metallurgical laboratory, but it can be one of the hardest tests to do properly.”
Today’s Best of the Web feature offers an easy-to-follow primer on this hard testing process, providing the following:
- Definition of Hardness Testing
- How Hardness Tests Work
- Selecting the Best Hardness Test Method
- The Four Most Common Indentation Hardness Tests: their uses, suitability, and distinctives
- How to Ensure Accuracy and Repeatability in Hardness Testing
- Surface Preparation Requirements for Hardness Testing
- Definition of Hardness Testing Loads
- Indent Spacing
- Troubleshooting for Hardness Tests
For a teaser, consider this excerpt from the article from Struers:
Factors that influence hardness testing
A number of factors influence hardness tests results. As a general rule, the lower the load you use in the hardness test, the more factors that need to be controlled to ensure an accurate conclusion of the hardness test.
Here are a few of the most important factors to consider to ensure an accurate conclusion from a hardness test.
- External factors such as light, dirt, vibrations, temperature, and humidity should be controlled
- The tester and stage should be secured on a solid horizontal table, and the sample should be clamped or held in a holder or anvil
- The indenter should be perpendicular to the tested surface
- Illumination settings should be constant during the test when using Vickers, Knoop, or Brinell
- The tester should be recalibrated/verified every time you change the indenter or objective lens
Read more: “Hardness Testing Is a Key Element in Many Quality Control Procedures and R&D Work”
Photo credit: Struers


