 When it comes to hardness testing nowadays, the process does not have to be done manually; automation has taken much of the burden away from operators. But which way produces the better result?
In this Heat Treat Today Original Content feature, Buehler recently published the results of a time study that compared case hardness testing of automotive crank pins and journals using both automation and manual testing. Find out which method showed a definite edge over the other in terms of time saved, less part manipulation, fewer errors in data transcription, and lower variability between performing tests.
EXECUTIVE SUMMARY
A study shows an operator time savings of 86% for making and measuring indents in three locations of crank pins and journals when using automation compared to manual testing. There was less part manipulation, fewer errors in data transcription and lower variability between operators performing tests.
INTRODUCTION
A large automotive manufacturer wanted to investigate the potential time savings of using automation for hardness testing crank pins and journals. Their existing process required two skilled operators per shift, two shifts per day, seven days per week. Tests were performed in three specified locations, two at forty-five degrees off axis and one perpendicular to the axis. Specified locations are critical, as missed locations could lead to manufactured parts being held in quarantine until further confirmation can be performed. Also of concern are failed parts that were inadvertently passed being installed and ultimately being prone to catastrophic failures. Data transcribing error was also a concern; if part information was entered incorrectly in a separate database it would cause mismatched data to lot number. When this occurs, it causes parts to become quarantined until the part information can be verified. With the total scrap cost being a considerable factor, skilled trained operators are needed for testing. Round robin testing is also used to determine the variability between operators. Qualifying new lines put into production increased testing by a factor of three to five times the normal operation analysis rate.
OBSERVATION
Current Process Observation
An evaluation of time to make and measure Vickers indentations on automotive crank pins and journals was established to determine a baseline of time for the existing process. Testing was done on a standalone manual system and required operator time for alignment, making and measuring of indents. The operators would fixture parts in similar orientation to ensure that measurements of the forty-five degree axis were in close proximity to expedite testing and reduce errors in testing. A high degree of manipulation for part alignment is necessary prior to physical testing to ensure accuracy.
It was observed that the operators’ set up time for location took the largest amount of testing time at 60%, measuring indents taking the second largest amount of time at 30% and making indents the third largest amount at 10%. The total amount of indents per pin and journal varied but averaged eighteen indents per section; six in each location. Total amount of indents for a crankshaft, pins being measured top dead center and bottom dead center and journals being measured along split, was 216 indents on average. The total analysis time for making and measuring indents at the specified locations on a crank was nine hours with 8 hours of operator interaction.
Implemented Process
For the implemented process a Wilson VH3100 series Vickers Microhardness Tester with DiaMet software was used. Parts were clamped in a machinist vice and placed on the stage without manipulation of orientation.
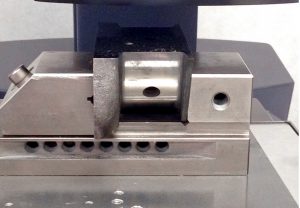
Trace function was used with the overview camera to create a template of the part to be tested; minimizing the set up time for the indent locations. The use of the template reduced the location set up time to 45 seconds in the three areas; two at forty-five degrees and one perpendicular to case.
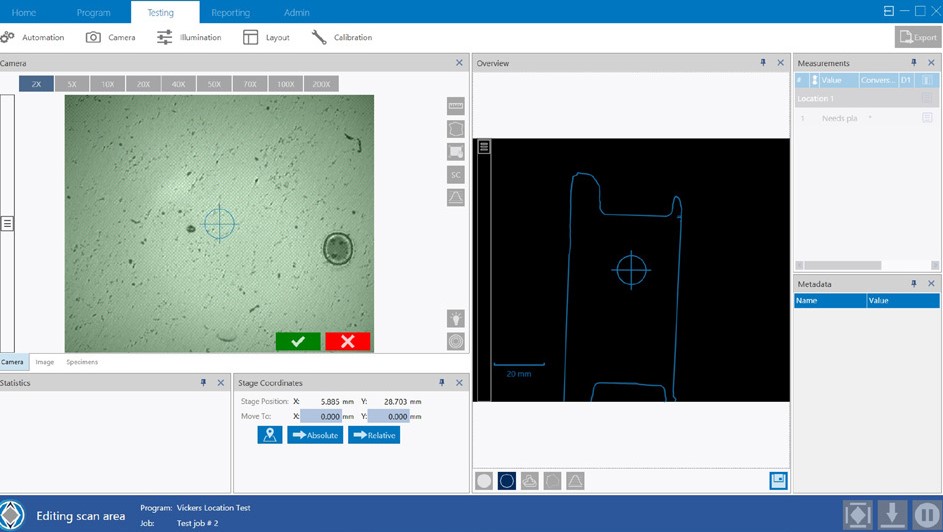
The DiaMet software snapped the template to the part at the specified location and the operators confirmed location. Observation of the set up time, making and measuring indents was 10, 50 and 40 percent respectively. Total amount of indents for a crankshaft was 216 indents on average with of time 1.25 hours with 15 minutes of operator interaction.
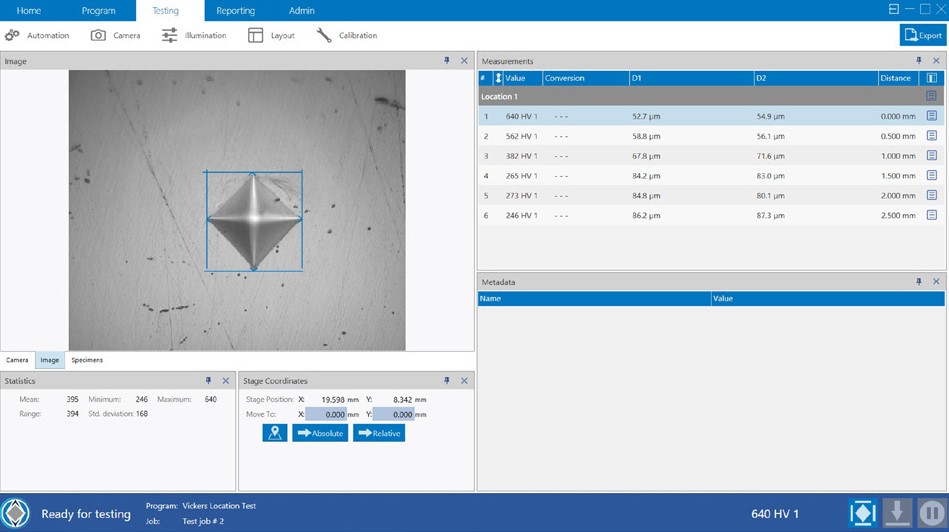
Visual high and low threshold warnings were added to each program giving the operator the ability for quick assessment of parts versus the confirmation after all crank pins and journals were analyzed as it was in previous methodology.
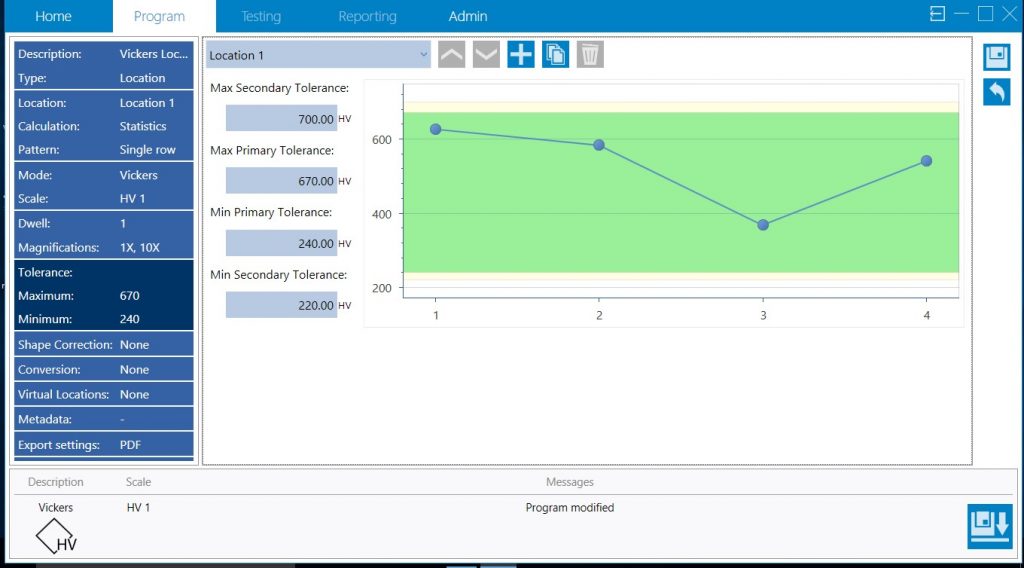
hardness thresholds (source: Buehler)
For reporting, metadata was set up to prevent operator errors in transcribing data.
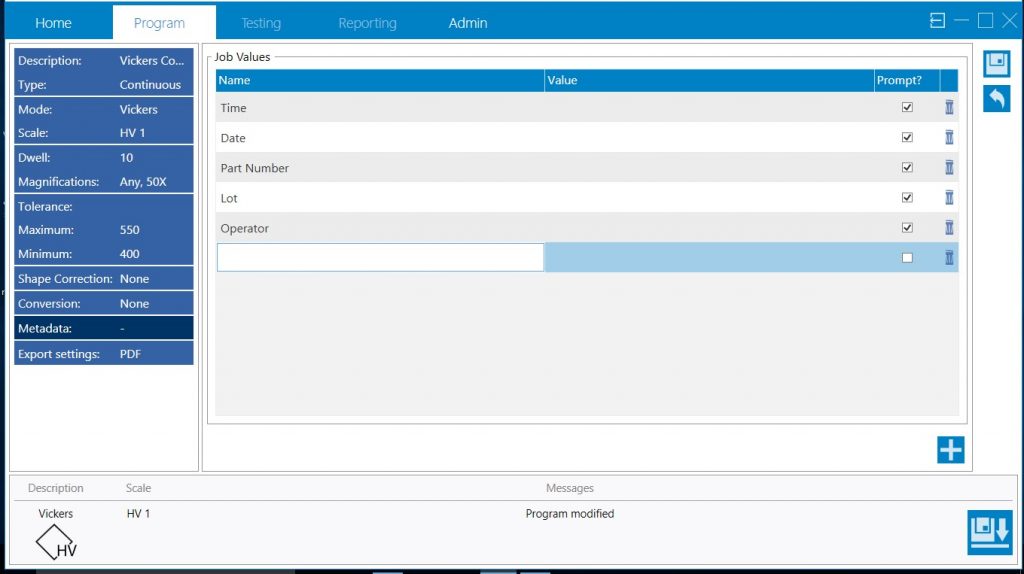
errors (source: Buehler)
SUMMARY
The time study evaluation shows automation saves a significant amount of time with setup as well as the time required to make and measure the Vickers indents. The total amount of time that the operators spend setting the indent profile, measuring and compiling data is reduced by 86% as well as avoiding any errors in transcribing data. Repeatability of testing is increased operator to operator, as variability between operator judgement is eliminated. The combination of using trace function and templates eliminated the need for operators to spend time aligning parts on the stage as well as mitigated the risk of a misplaced indent profile. The increase of visibility of part failure is evident at time of measurement and gives the operator the ability to recheck either an area or total part without the need for extended quarantine of parts for re-examination. Using metadata fields within the Vickers testing program removed transcribing issues which would hold up batches of cranks until records could be reviewed.


